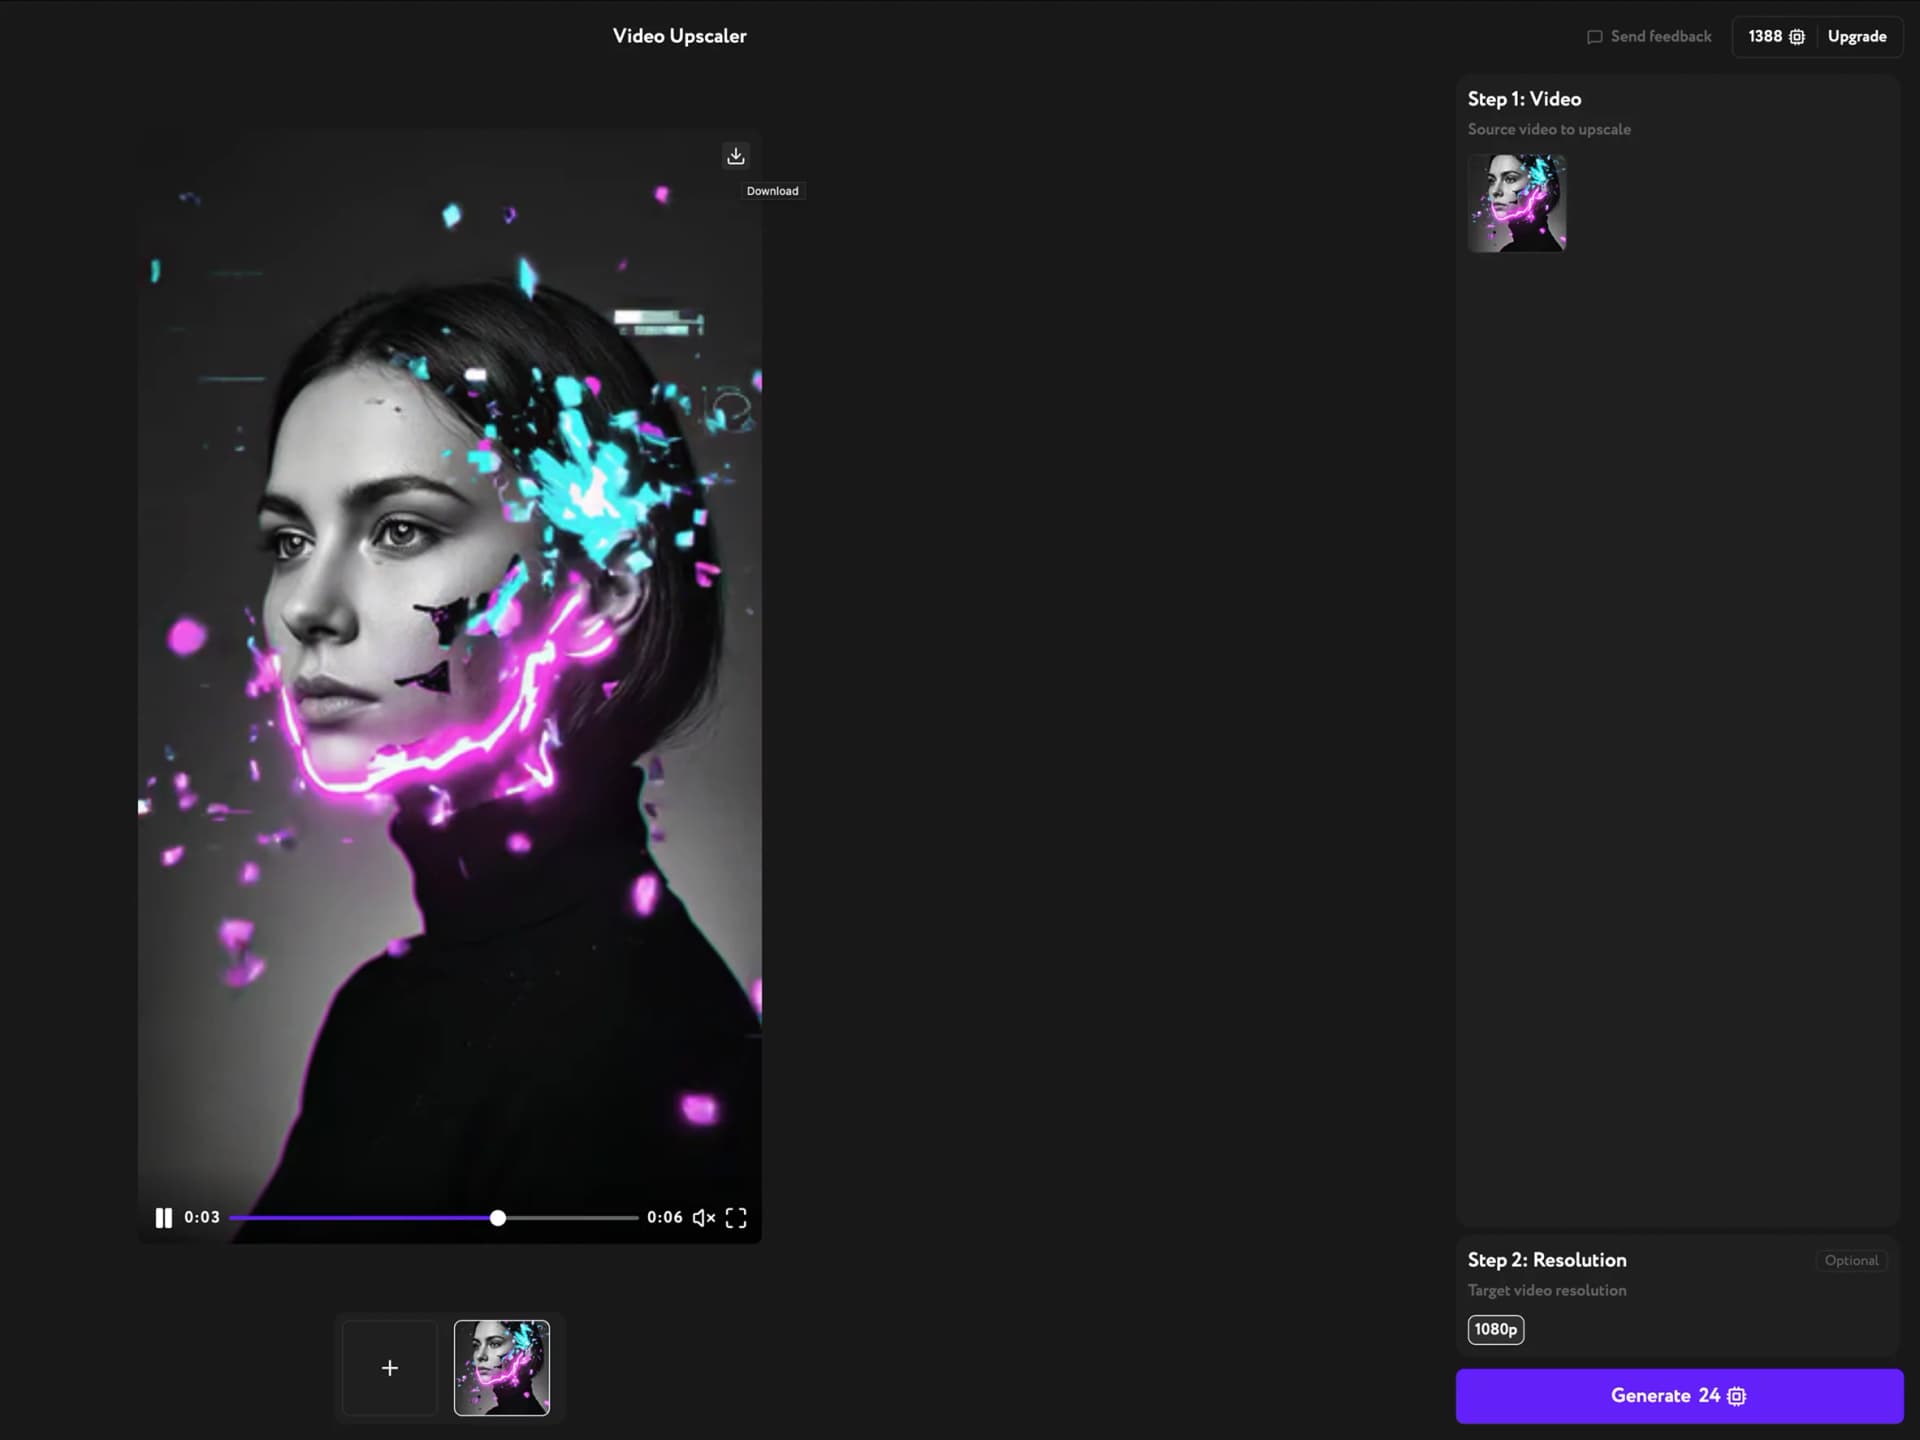
Upscale video to higher resolution

Updated June 18, 2026Try Video Upscaler app

Video Upscaler increases the resolution of any clip in Workroom and recovers the fine detail that AI generation and compression tend to wash out. It works frame by frame, so the whole video stays sharp — not just the still frames. Open Apps from the sidebar and click Video Upscaler to start.

Select your video

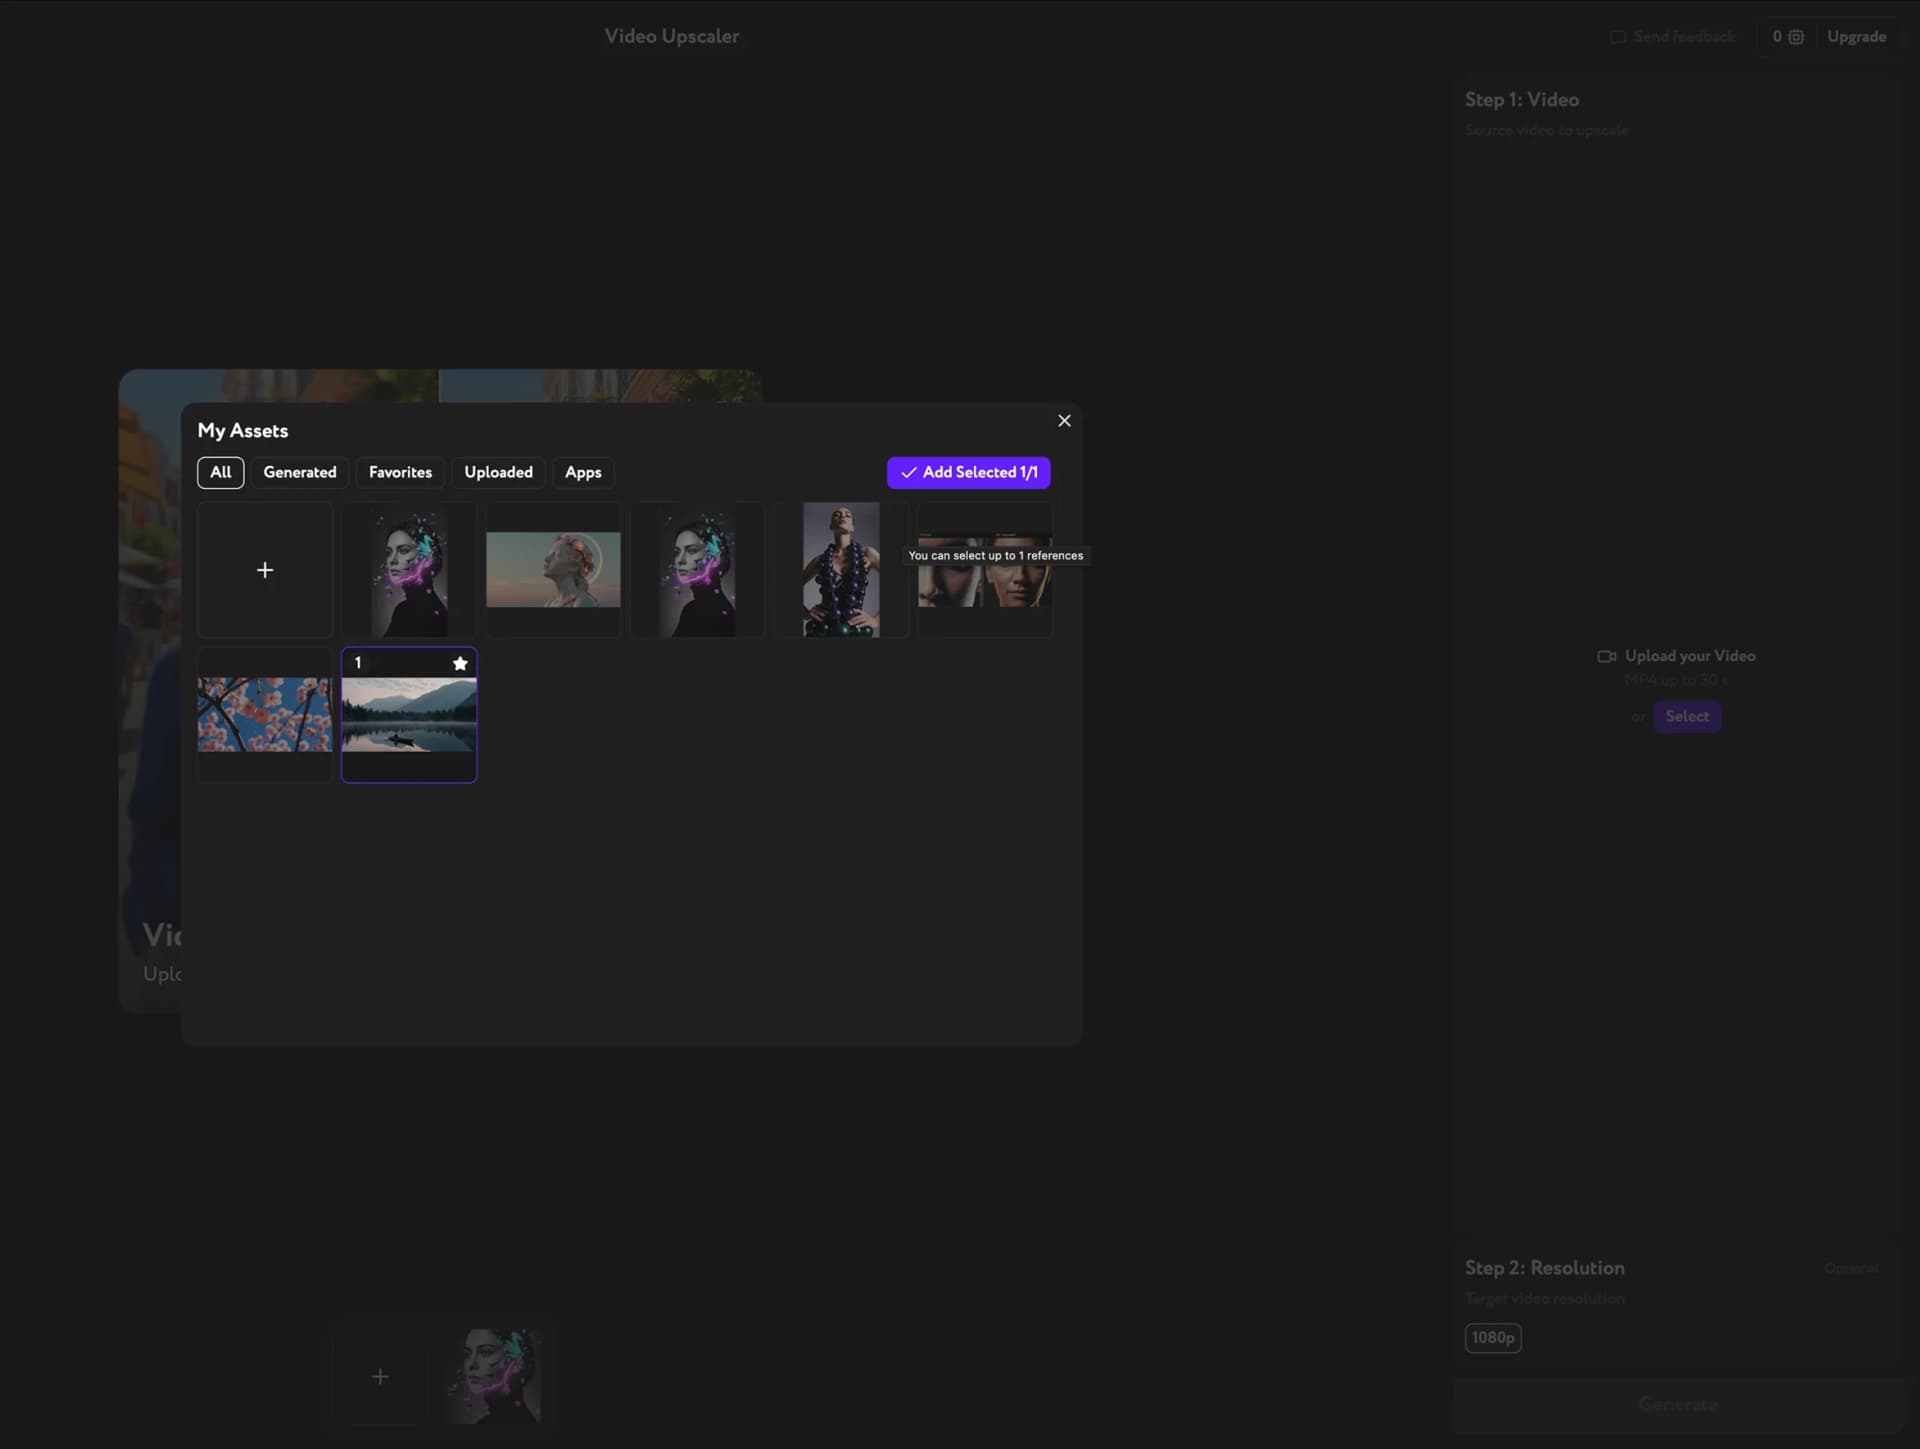
Click Select under Step 1, or open My Assets and pick a clip. Browse Generated, Uploaded, Favorites, or Apps content, click the video to select it, then confirm. You can also upload your own MP4 (up to 30 seconds) straight from your device.

You don't have to generate the clip in Workroom first — any MP4 works, including real footage and compressed exports.
My Assets panel open in Video Upscaler — selecting a clip to upscale

Choose the output resolution

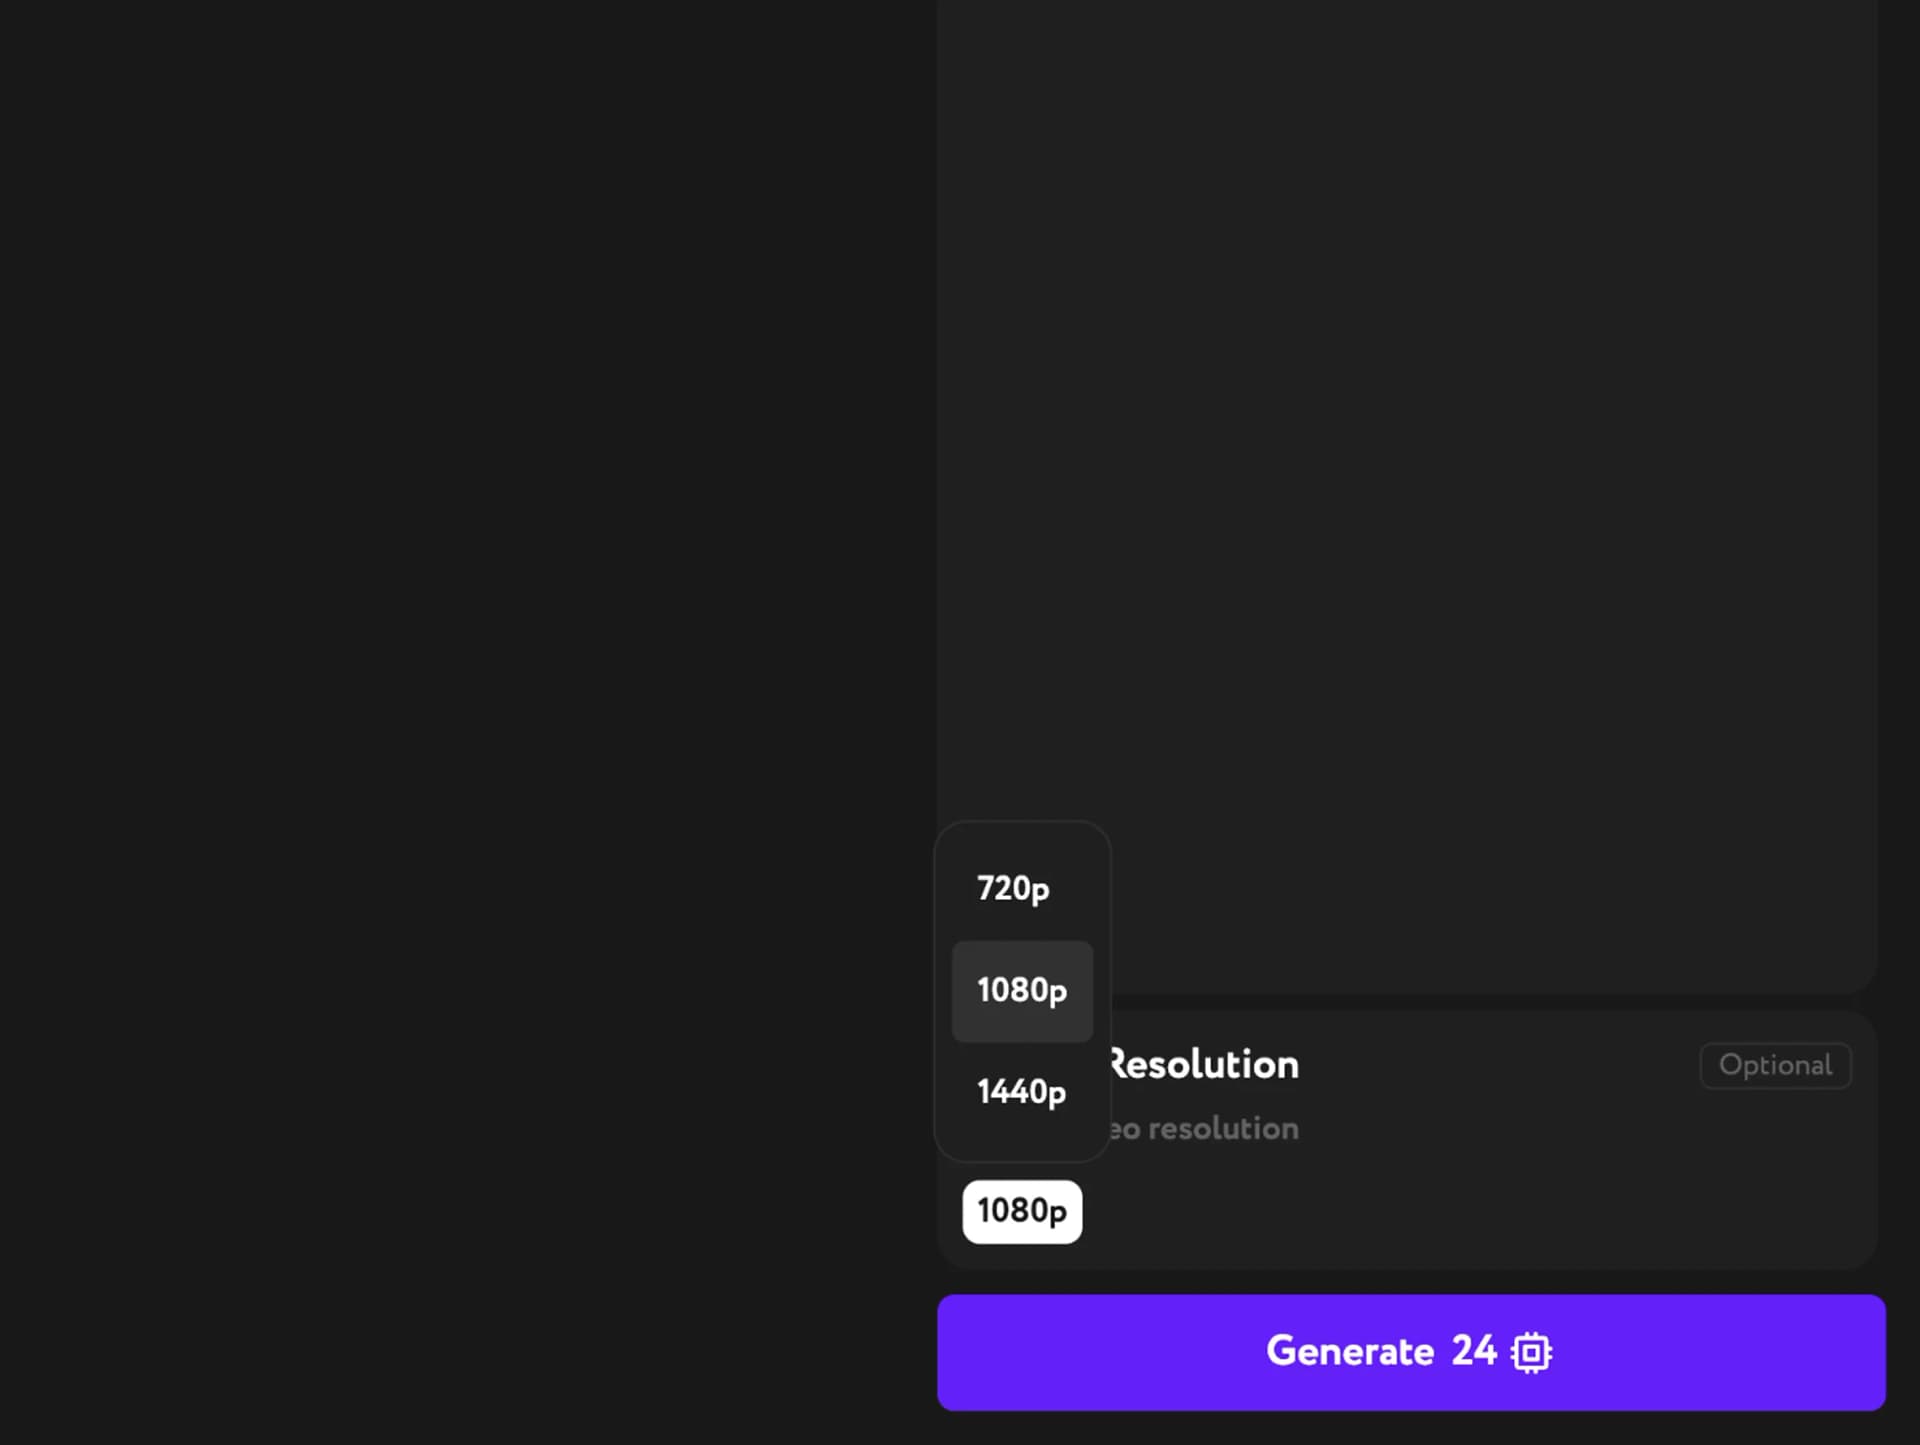
Under Step 2, set the target resolution to 720p, 1080p, or 1440p, depending on where the video is going. This is the only setting — there are no sliders, denoise controls, or model picks to manage. The default is 1080p.

Resolution dropdown in Video Upscaler — 720p, 1080p, and 1440p options

Generate and download

Click Generate. The button shows the credit cost before you commit. The AI rebuilds your footage at the chosen resolution, then the result plays back in the workspace. Use the Download button to save it, or keep it in Workroom for the next step in your pipeline.

Upscaling creates a new video entry — your original clip stays untouched in the library.
Upscaled result playing in Video Upscaler — download control visible above the player
Need a clip to upscale first? See Generate your first video. For more options after upscaling, see Video result actions. To sharpen still images instead, try Image Upscaler.