
Create an arc shot video

Updated September 28, 2026Try Arc Shot app →
Arc Shot is a preset in Camera Movements, part of Workroom's AI workspace for video, image, and voice generation. It takes a single photo and generates a 5-second video where the camera travels in an arc around your subject, smoothly moving from one angle to another and showing it from all sides while the action you describe plays out in the frame. You don't write the camera path yourself — the move is built into the preset, so you only add a photo, one line about the scene, and a direction. For examples of what it looks like, see the Arc Shot page.
Arc Shot is available on the Starter and Pro plans. Each run costs credits, with the exact cost shown on the Generate button.

Open Arc Shot

Open Apps from the sidebar and click Camera Movements. In the Preset block at the top of the right panel, pick Arc Shot from the list — it sits next to Crash Zoom, Dolly Zoom, and Zoom.
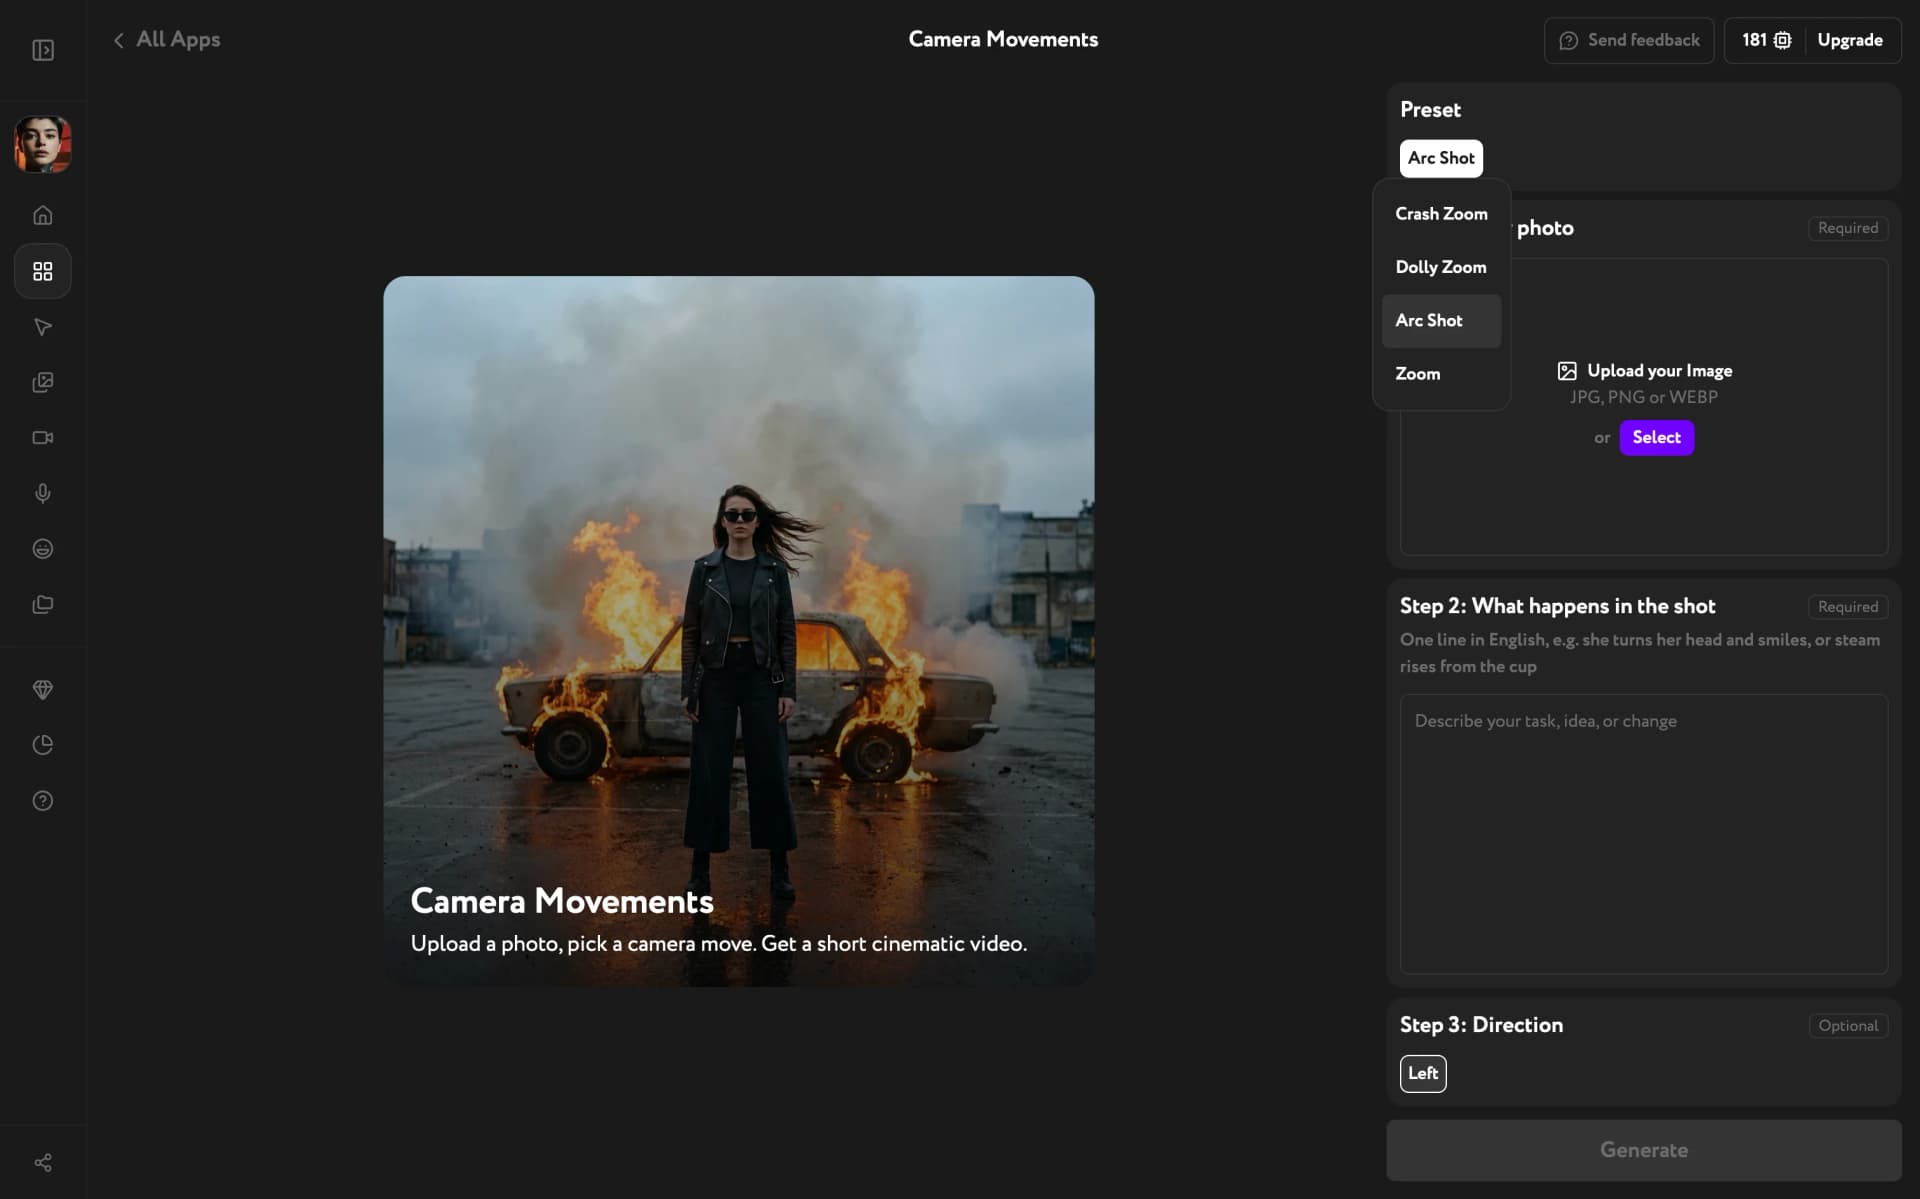
Camera Movements app with the Preset list open and Arc Shot highlighted

Add your photo

Under Step 1: Your photo, upload a JPG, PNG, or WEBP from your device. Or click Select to pick an image already in your Workroom library — anything you generated or uploaded earlier works.

The camera travels around the subject, so a photo with a clear main subject and some space around it works best. A background with depth — a street, a landscape, a room with a far wall — gives the arc more of the scene to reveal as the angle changes.

Describe what happens in the shot

Under Step 2: What happens in the shot, write one line in English about the scene: the character's emotion, an action, or a detail in the frame. For example, "she turns her head and smiles" or "steam rises from the cup."

Describe the scene, not the camera. The arc is already part of the preset, so words like orbit, circle around, or the camera moves only repeat it and can make the result less predictable.

Choose a direction

Under Step 3: Direction, pick Left or Right to set which way the camera travels around your subject. Left is selected by default. Choose the side that follows the subject's gaze or the flow of your edit — or generate both and cut between them.
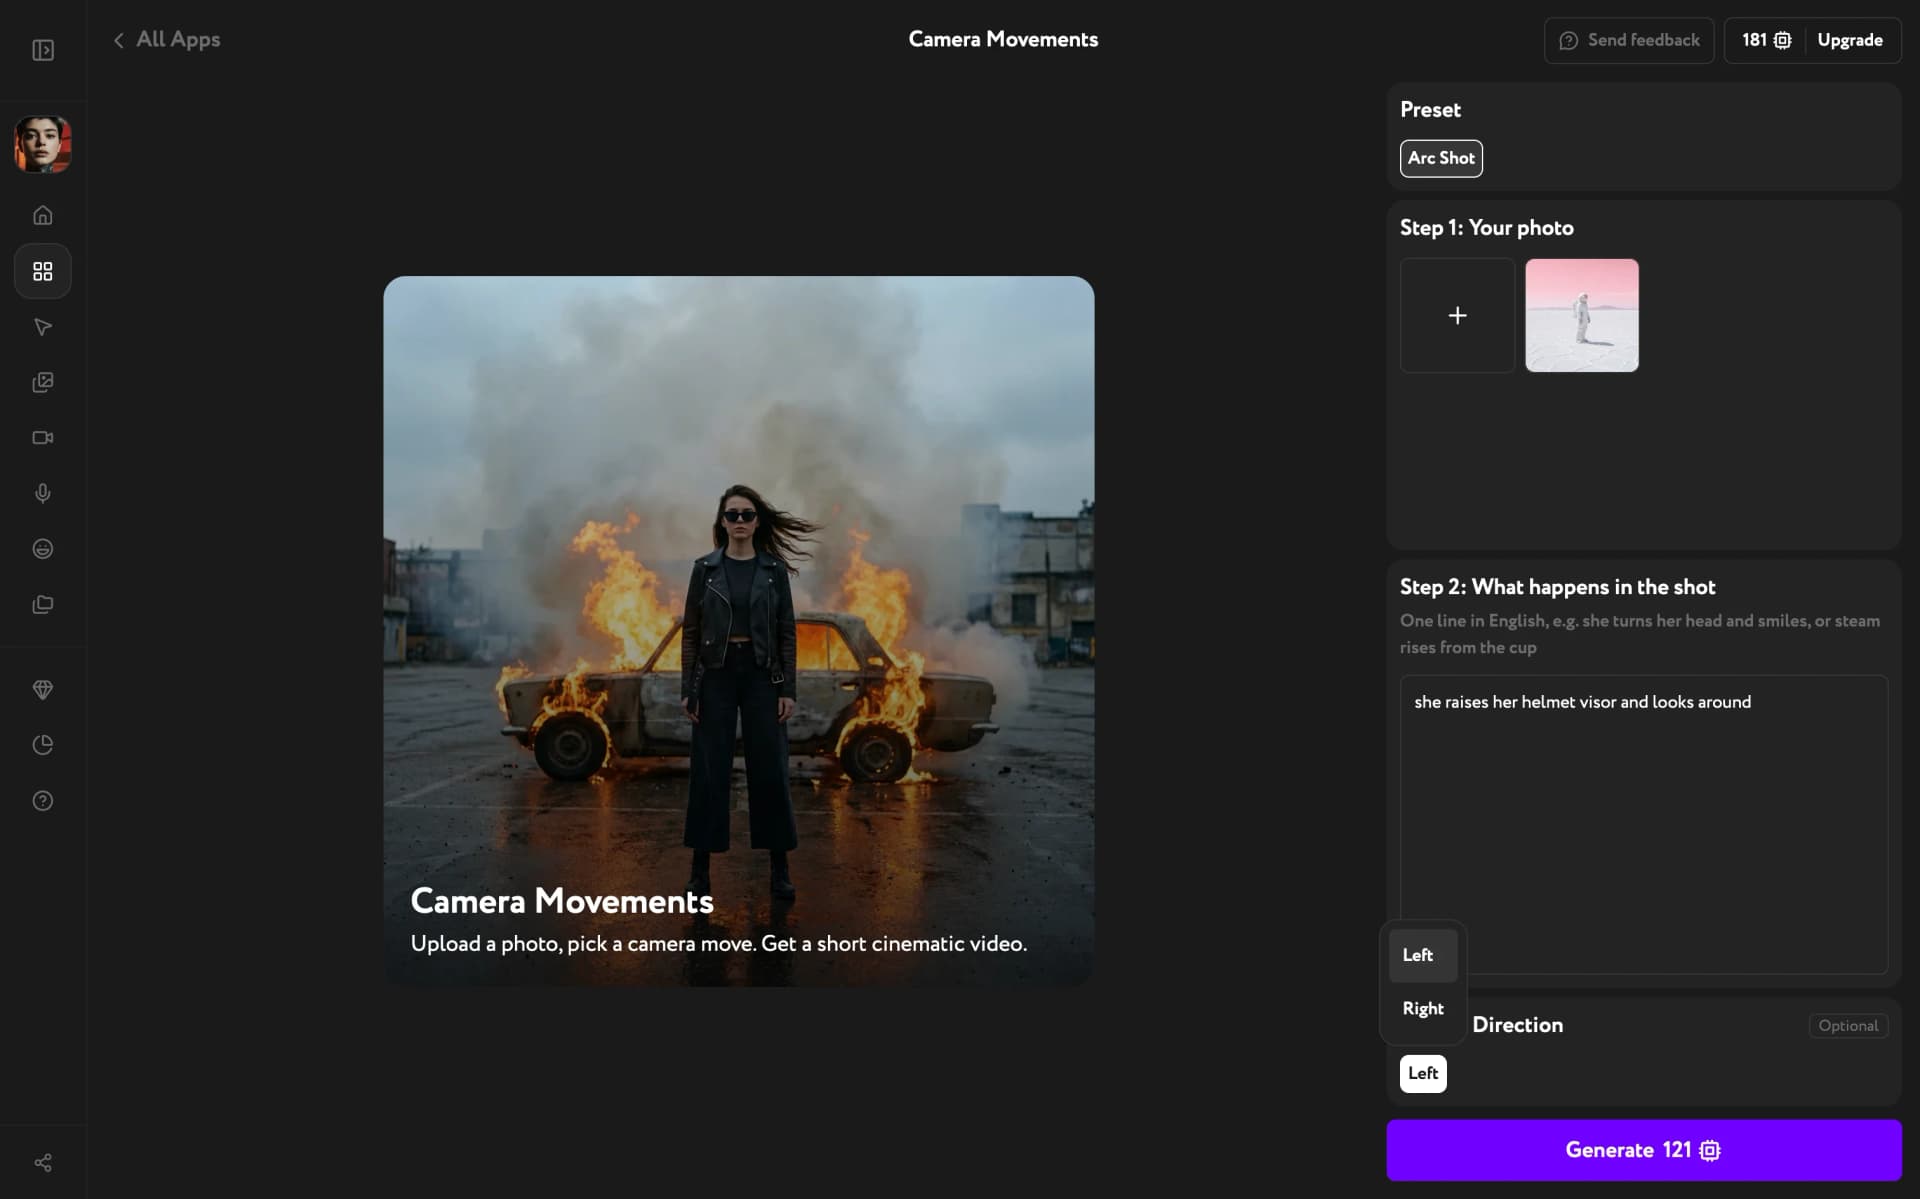
Camera Movements panel with an uploaded image, a one-line scene description, and the Direction list open with Left and Right

Generate the video

Click Generate. The result is a 5-second video you can play, download, or reuse in other Workroom tools.
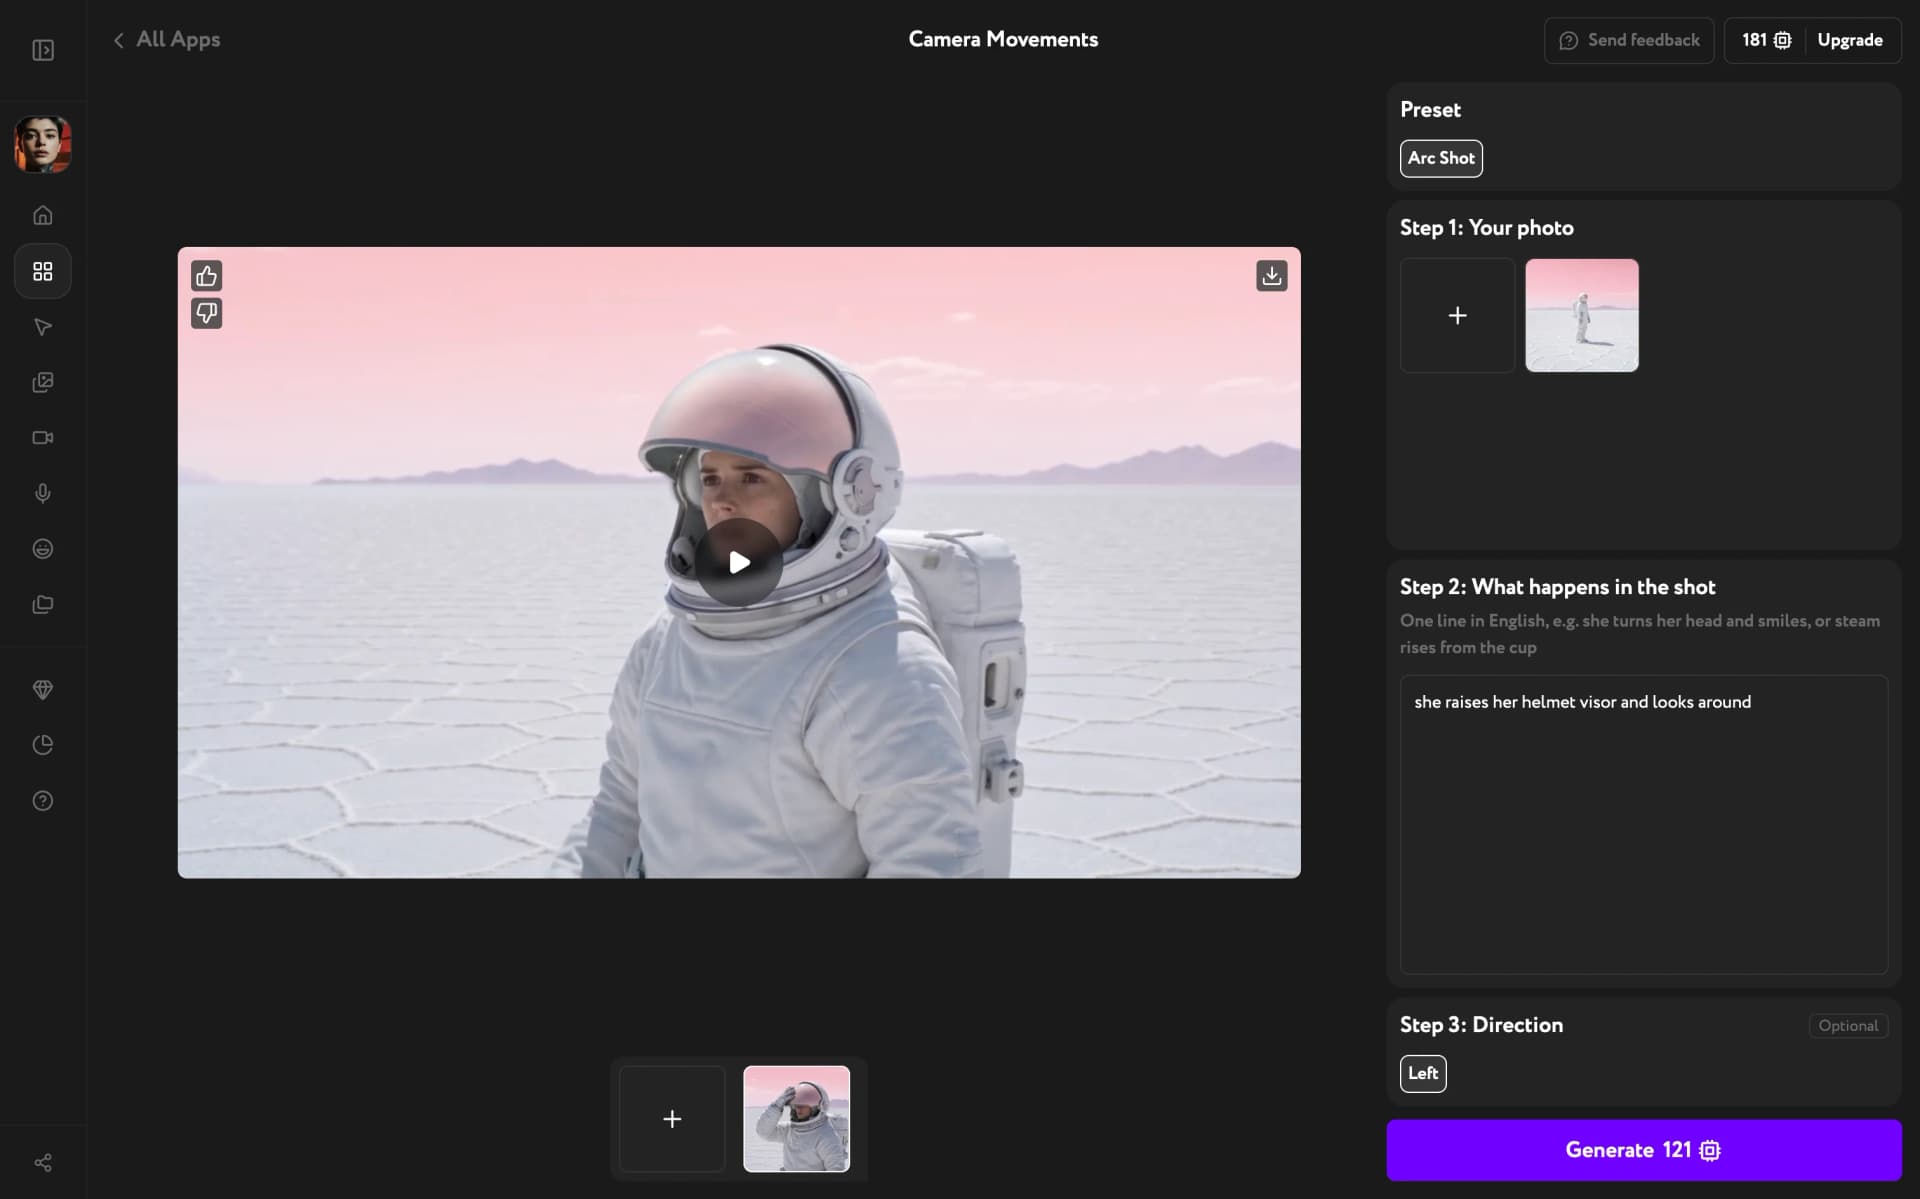
Generated arc shot of an astronaut on a salt flat, with the source image, scene description, and direction in the panel

Each generation comes out a little different, even with the same photo and description. If the move or the action doesn't land the way you want, generate again.

Troubleshooting

The video moves in a way I didn't expect

Check your scene description for camera words. The camera circles, orbiting, zooming in — the generator treats these as instructions and adds that movement on top of the preset's own. Rewrite the line as a plain description of what happens in the frame.

The camera goes the wrong way

Switch Step 3: Direction to the other side and generate again. The same photo works in both directions.

Is this the same as Crash Zoom or Dolly Zoom?

No. Crash Zoom snaps the lens toward the subject, and Dolly Zoom keeps the subject the same size while the background stretches. Arc Shot moves the camera around the subject, taking the shot from one angle to another. See Create a crash zoom video and Create a dolly zoom video.

Can I use the result commercially?

Personal use is included with your plan; commercial use requires a Pro subscription. See Manage credits and billing for details on plans and credits.

Next steps

Arc Shot works well together with other Workroom apps: fix a low-resolution source with the Image Upscaler before generating, reframe your photo first with Change a camera angle, or score the finished video with Add sound to any video.